|
|


The Saltwater Centerpiece design moved away from the back glass and took
a chance with the only point of adhesion being to the bottom of the tank.
The two separate larger and smaller formations were built outside the aquarium, then secured in place with silicone.
The two separate larger and smaller formations were built outside the aquarium, then secured in place with silicone.
DIY Aquarium Background
Saltwater
Centerpiece
Saltwater
Centerpiece
February temperatures in the workshop
(garage) are offset with a 150w incandescent
flood lamp. The radiant heat from the large lamp
was welcome in an otherwise chilly work space.
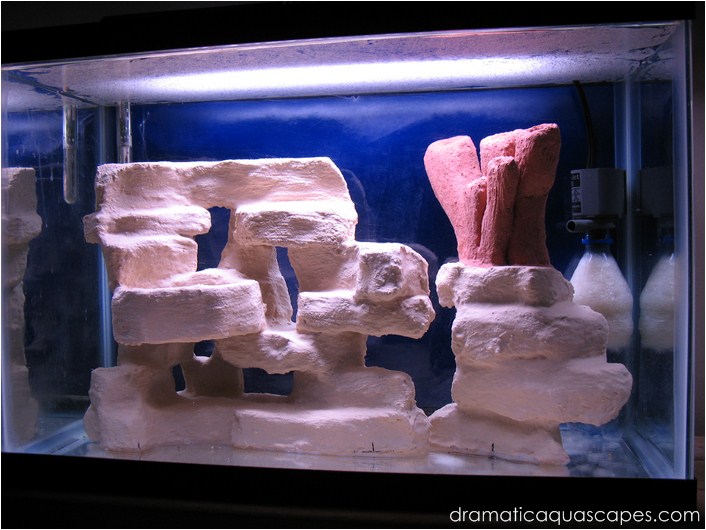
The piece on the left was made with a combination of scraps from a previous project.
A blow torch was used to melt the polystyrene before applying cement to give it a more natural look of eroded stone.
The large tube sculpture on the right was crafted by my daughter.
The piece on the left was made with a combination of scraps from a previous project.
A blow torch was used to melt the polystyrene before applying cement to give it a more natural look of eroded stone.
The large tube sculpture on the right was crafted by my daughter.
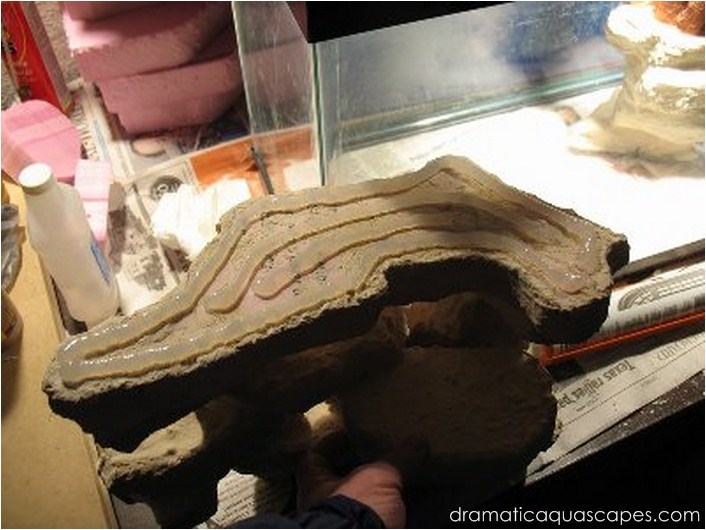
Ample GE brand Silicon #1 is applied to the
bottom of the formations to make sure they stay
put.
This photo shows the bottom of the larger of the two formations.
This photo shows the bottom of the larger of the two formations.
The small black markings on the base were
applied before the silicone, and then used to
re-position the pieces permanently with silicone.
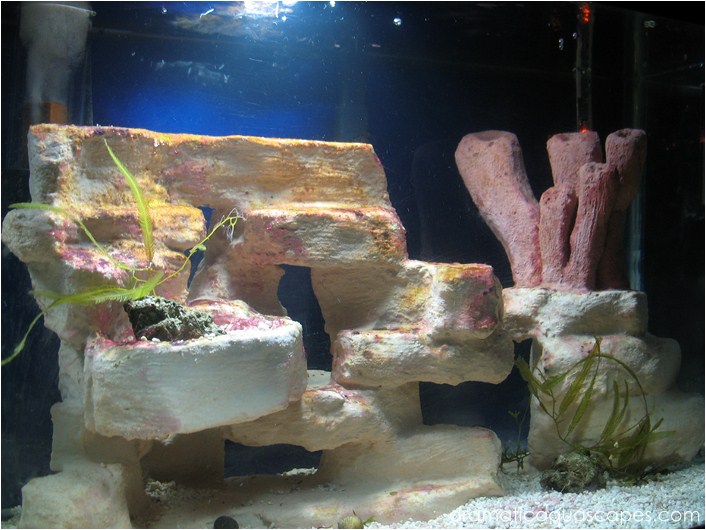
The goal of the careful positioning is to be able to navigate an algae scraper on all glass surfaces around the formations as needed once the aquarium is established.
Still early in the 30 day tap water rinse stage of this newly built design, you can actually see a film of calcium precipitate on the surface of the water. This servers as evidence of how important the rinsing stage is to prepare the aquarium for aquatic life.
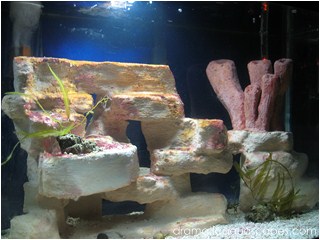
Fast forward to three months later and the
young marine aquarium is doing well. Too early
to tell how the cement will hold up for the long
term, but no signs of problems yet. A single
Blue Damsel, and a newly introduced pink and
yellow Diadema Pseudo are still debating
boundaries.