|
|


Do-it-Yourself
PVC Overflow with Multi-Level Intake
page 5 of 5
PVC Overflow with Multi-Level Intake
page 5 of 5
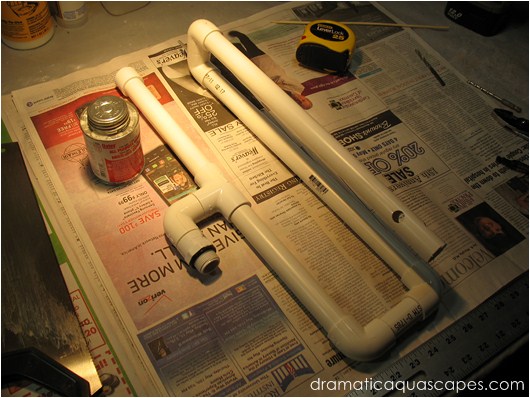
* Cement the remaining 16" pipe section with
the extra holes to the short elbow assembly.
Rotate the assembly and use the table surface
help straighten the pipes.
* Once the cemented 3/4" pipe assembly has
had a few minutes to cure, insert the 16" x 3/4"
pipe section with the extra holes into the top of
the 3" diameter assembly.
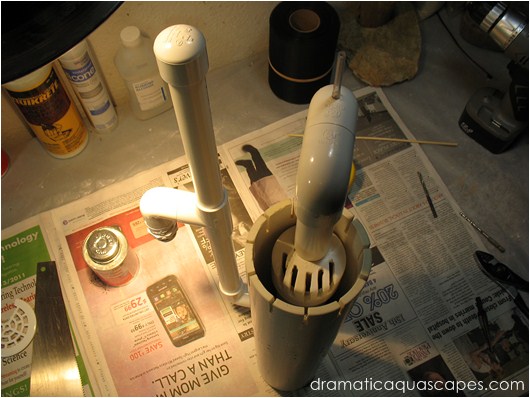
* Attach the 3/4" slip cap, but don't cement. It will be necessary to remove the cap to prime the overflow.
Important: Do not cement these two sections together.
Ideally, this will be a snug enough fit that you'll be able to adjust the position of the 3" diameter PVC pipe up or down to determine the water level in your aquarium.
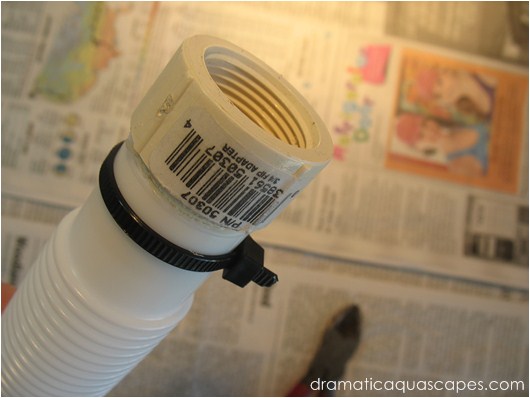
* Using a combination of cement and nylon tie,
attach a 50307 3/4 Inch female adapter to each
end of a 3' section of 1 1/8" inner diameter bilge
hose.
This will attach to the 3/4" slip & thread adapter on the overflow assembly and will make it possible to unscrew the hose for maintenance.
This will attach to the 3/4" slip & thread adapter on the overflow assembly and will make it possible to unscrew the hose for maintenance.
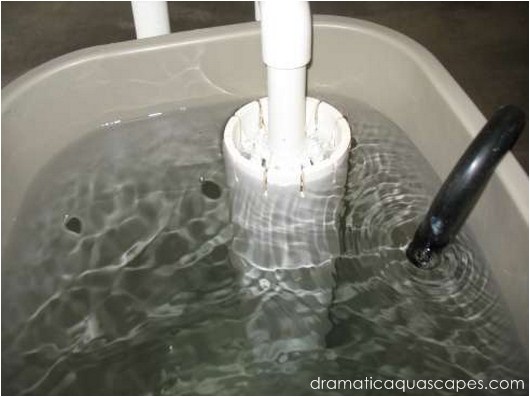
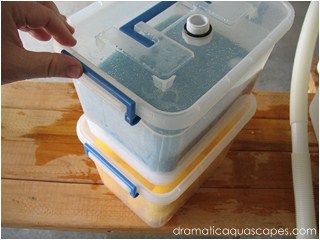
* This overflow was tested by placing a clean
10 gallon plastic trash bin on top of some saw
horses in the garage. A 10 gallon aquarium will
be used for the sump.
For information regarding the wet/dry filter built for this pvc overflow, click here to be taken directly to the project page.
For information regarding the wet/dry filter built for this pvc overflow, click here to be taken directly to the project page.
Click the play button to the left to see a short video
of the Do-it-Yourself PVC Overflow with Multi-Level
Intake.
For step-by-step instructions how to build the DIY Wet/Dry Filter in the video, just click the photo below!
For step-by-step instructions how to build the DIY Wet/Dry Filter in the video, just click the photo below!
welcome to
do-it-yourself aquarium and semi-aquatic background designs beyond the traditional
Dramatic AquaScapes
Disclaimer: Exercising reasonable safety precautions
when performing the steps described in this article
are the responsibility of the individuals building the
background. Dramaticaquascapes.com is not
responsible for personal injury or property damage as
a result of following steps outlined in this article.