|
|
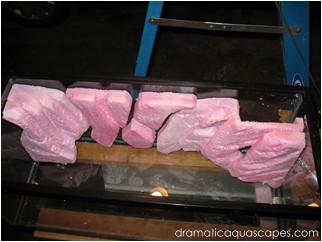
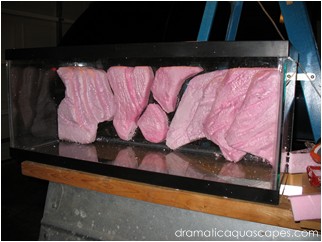
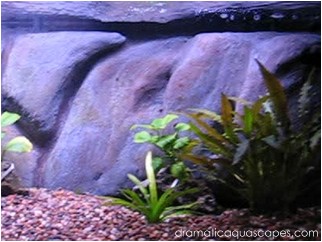


4. In the sample pictures below, rock formations on each end of the background are made from multiple layers of styrofoam,
so the first piece to install would be the piece that attaches directly to the glass. The formation on the left is simply a cave.
The formation on the right is the hardware compartment for the filter intake, heater and an air-stone. For multiple piece
formations toothpicks can be used to temporarily attach pieces together.
Note: An alternative method of cutting and shaping rock formations not shown here is to use what's called a "hot knife".
There are various products available on the Internet. Youtube is a great place to learn more about hobby products
designed to cut styrofoam.
5. Once you've created your rocks, are happy with the design and made sure everything fits, assemble your background
using liberal amounts of aquarium safe silicone. Be generous with the silicone, but don't worry about covering every
square inch of styrofoam. The cement will also help bond your background pieces together and to the glass.
6. Allow the silicone to cure for 24 hours before continuing to the cement process
6. Allow the silicone to cure for 24 hours before continuing to the cement process
Mixing the Cement
Three coats of cement will be applied to your background (allowing 24 hours for each coat to cure between applications), the amount of liquid color you use will increase with each coat as noted below in step 2.
Three coats of cement will be applied to your background (allowing 24 hours for each coat to cure between applications), the amount of liquid color you use will increase with each coat as noted below in step 2.
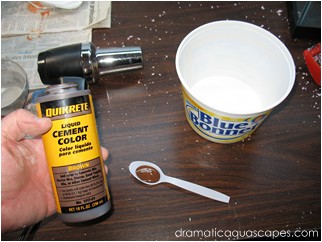
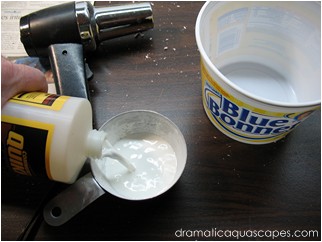
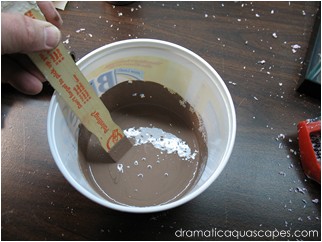
1. Measure 1/2 cup QUIKRETE Concrete Acrylic Fortifier and 1/2 cup of water and add to your mixing bowl.
2. First coat: No color needed. The goal with the first coat is to get good coverage on all styrofoam surfaces where fish may have access and will be visible once the background is complete.
Second coat: Add just a few drops of color to the liquid acrylic and mix well. This will make it easier to tell between the first and second coats of cement for better coverage.
Third and final coat: Add 1 teaspoon liquid cement color to the liquid acrylic and mix well.
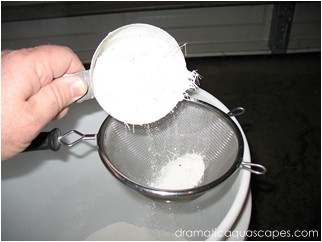
3. Sift 3 or 4 cups of Quikrete Quikwall cement into a bucket to remove the fiberglass fibers. This step is optional but may be
preferred for a smoother background surface.
4. Add 2 1/2 cups of the sifted cement to the liquid acrylic and mix until smooth. The goal is a paint like consistency or
thicker, so if the mix is a little runny, add 1/4 cup amounts of cement until the desired thickness is achieved.
How to Build Your Own
Custom Aquarium
Background
By Glenn Minor
Page 3 of 5
Custom Aquarium
Background
By Glenn Minor
Page 3 of 5