|
|


do-it-yourself
Striplight Conversion to CFL for Aquatic Plants
Page 2 of 2
Striplight Conversion to CFL for Aquatic Plants
Page 2 of 2
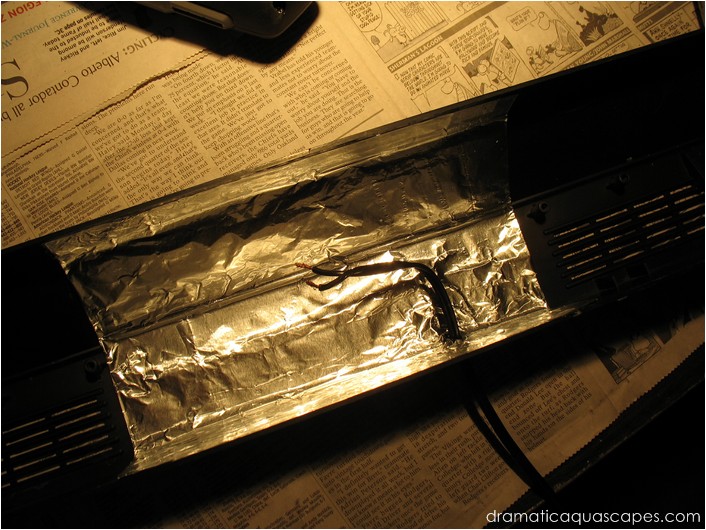
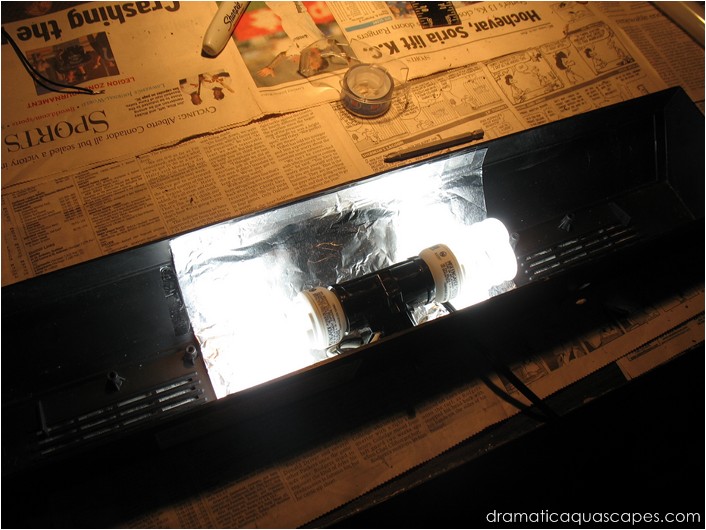
Once the interior if the fixture cover is clean and
dry, measure and fold two layers of aluminum
foil (for strength) to fit the grooves of the fixture
cover.
Use any type of transparent tape to secure in place. This may seem flimsy, but should hold up just fine for this particular application.
Use any type of transparent tape to secure in place. This may seem flimsy, but should hold up just fine for this particular application.
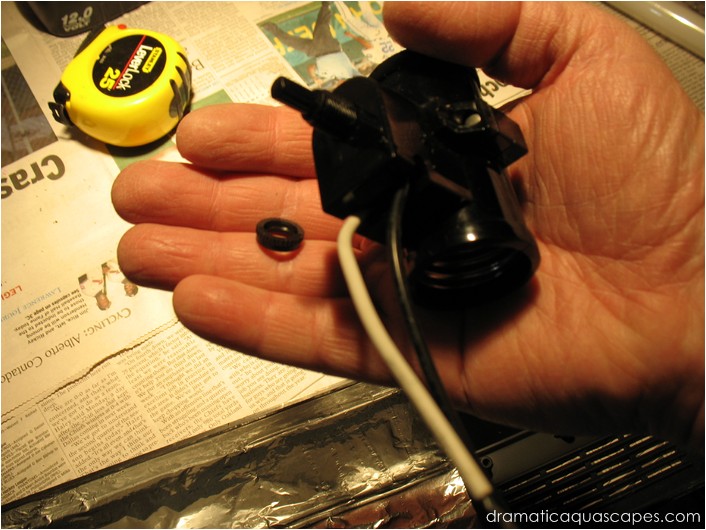
This is the new double light socket and old
mounting nut we saved from the power switch of
the strip light fixture.
If the strip light fixture doesn't have a mounting nut, post a question in the forums and I'll describe a work around I've used with plastic cable ties.
For some reason, compatible nuts may not be easy to find in local hardware stores.
If the strip light fixture doesn't have a mounting nut, post a question in the forums and I'll describe a work around I've used with plastic cable ties.
For some reason, compatible nuts may not be easy to find in local hardware stores.
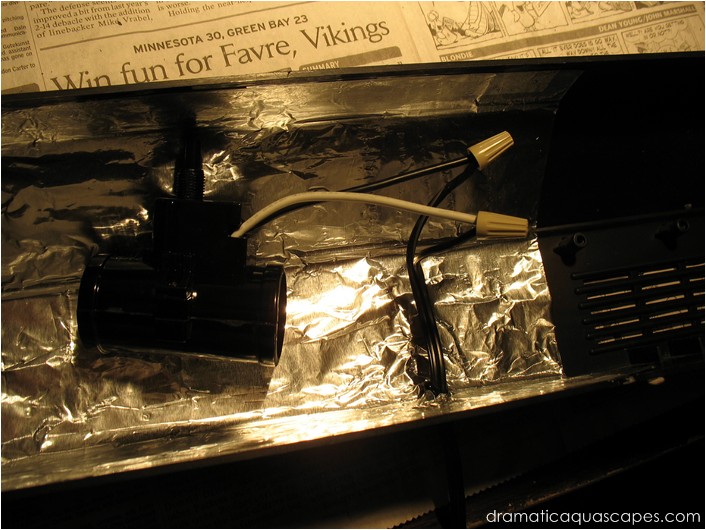
Using the old twist caps, connect the power
cord to the double light socket.
With a pair of bulbs installed, position the
double light socket to allow clearance top and
bottom and use a marker to mark a drill spot on
the outside of the fixture top.
Drill a 3/8" mounting hole in the back of the fixture using a countersink drill bit if you have one. Other bit types may work fine, but go slow to avoid cracking the plastic.
Drill a 3/8" mounting hole in the back of the fixture using a countersink drill bit if you have one. Other bit types may work fine, but go slow to avoid cracking the plastic.
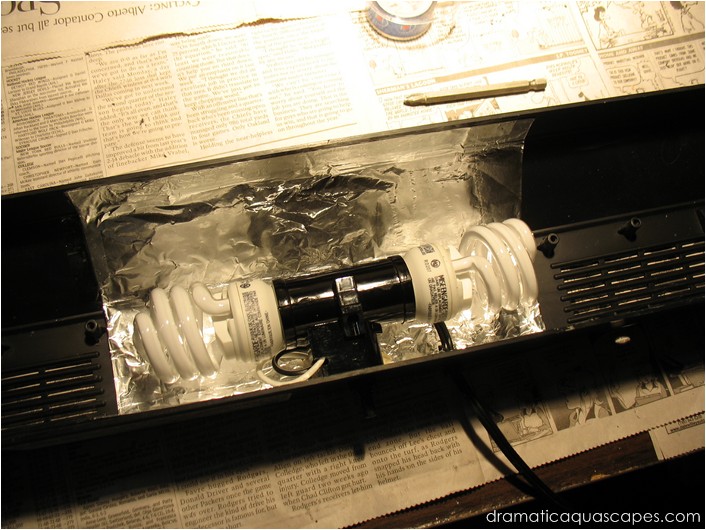
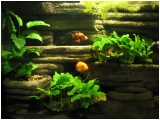
The 6500k light spectrum these GE Daylight
bulbs produce works well with live aquatic
plants and has enough blue spectrum to bring
out the warm colors in fish and their
surroundings.
The bulbs can also produce a nice "shimmering" effect that emulates natural sunlight to a small degree.
Note: To enhance the "shimmer" effect, look for ways to use filters or airstones to disturb the water surface just below the bulbs.
The bulbs can also produce a nice "shimmering" effect that emulates natural sunlight to a small degree.
Note: To enhance the "shimmer" effect, look for ways to use filters or airstones to disturb the water surface just below the bulbs.
Disclaimer: Exercising reasonable safety precautions
when performing the steps described in this article
are the responsibility of the individuals building the
background. Dramaticaquascapes.com is not
responsible for personal injury or property damage as
a result of following steps outlined in this article.
the
project pages
do-it-yourself!
welcome to
do-it-yourself aquarium and semi-aquatic background designs beyond the traditional
Dramatic AquaScapes