|
|

Do-it-Yourself
Hanging Pendant
Aquarium Plant Lights
page 3 of 4
Hanging Pendant
Aquarium Plant Lights
page 3 of 4
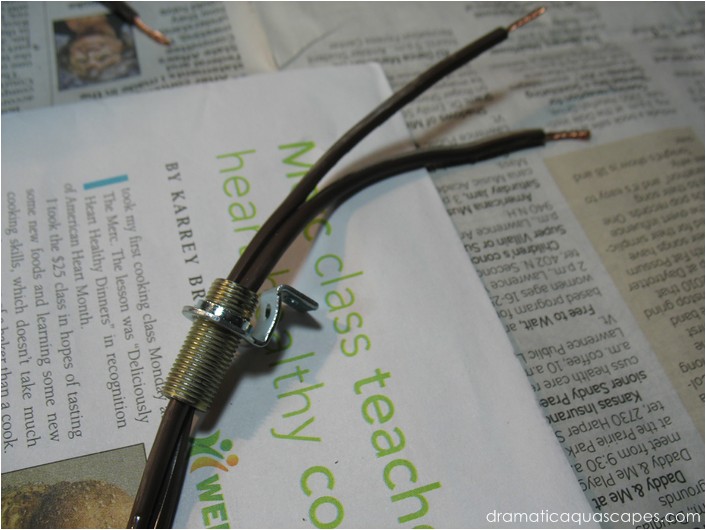
Slide a threaded steel nipple over one of the
extension cords. Screw on the threaded
mounting bracket you unscrewed from the
porcelain socket.
You're ready to insert the extension cord wires thru the top side of the hole you drilled in the can.
You're ready to insert the extension cord wires thru the top side of the hole you drilled in the can.
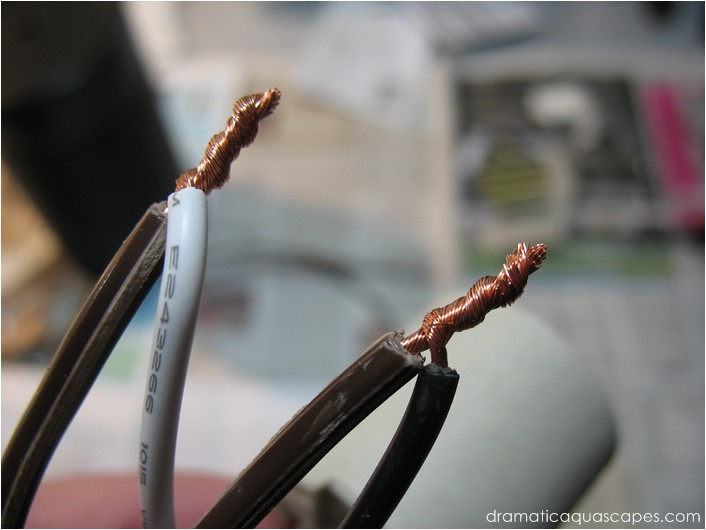
With the extension cord wires inserted thru the
drilled hole in the can, twist togather the pair of
the extension wires and the black and white
wires from the porcelain socket.
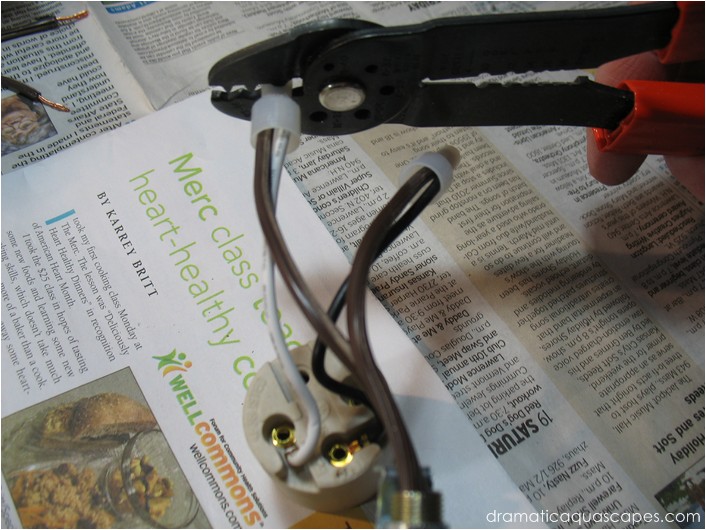
Attach and crimp a closed-end splice
connnector over each twisted set of bare wires
using a crimping tool.
For anyone unfamiliar with this tool, it secures the wires by crushing a small metal tube around the wires inside the plastic cap.
An alternative to this step if you don't have access to a crimping tool, is to use the twist on style of electrical caps. Just make sure they're good and tight either way.
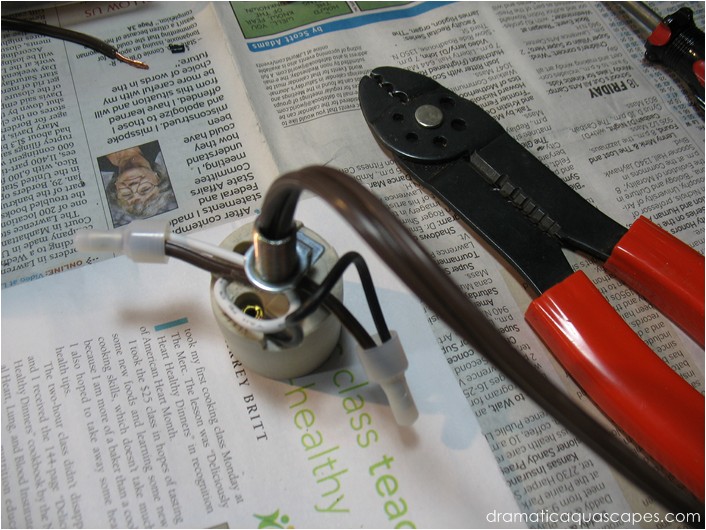
Here's a photo of the completed wired socket.
It's ready to be mounted inside the can.
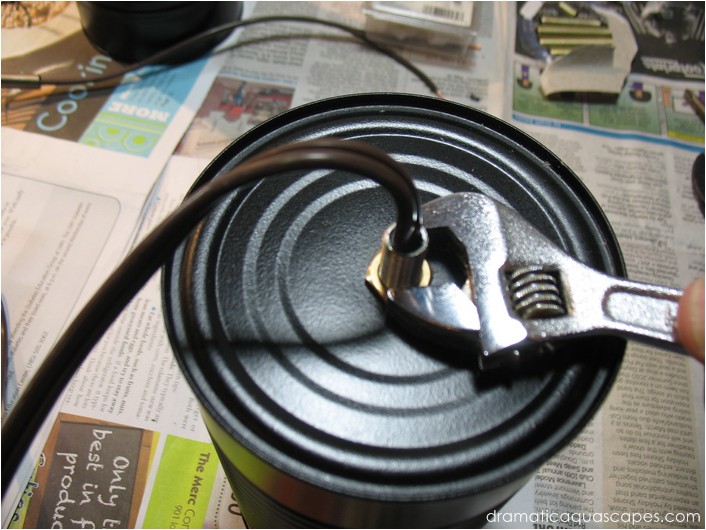
If all went as planned, this will be as easy as pulling the extension cord from the top of the can and navigating the steel nipple thru the drilled hole.
If all went as planned, this will be as easy as pulling the extension cord from the top of the can and navigating the steel nipple thru the drilled hole.
With the porcelain fixture socket in place inside
the can, secure the hex nut over the steel nipple
and gently tighten with a crescent wrench.
welcome to
do-it-yourself aquarium and semi-aquatic background designs beyond the traditional
Dramatic AquaScapes
Disclaimer: Exercising reasonable safety precautions
when performing the steps described in this article
are the responsibility of the individuals building the
background. Dramaticaquascapes.com is not
responsible for personal injury or property damage as
a result of following steps outlined in this article.