|
|

Do-it-Yourself
Hanging Pendant
Aquarium Plant Lights
page 4 of 4
Hanging Pendant
Aquarium Plant Lights
page 4 of 4
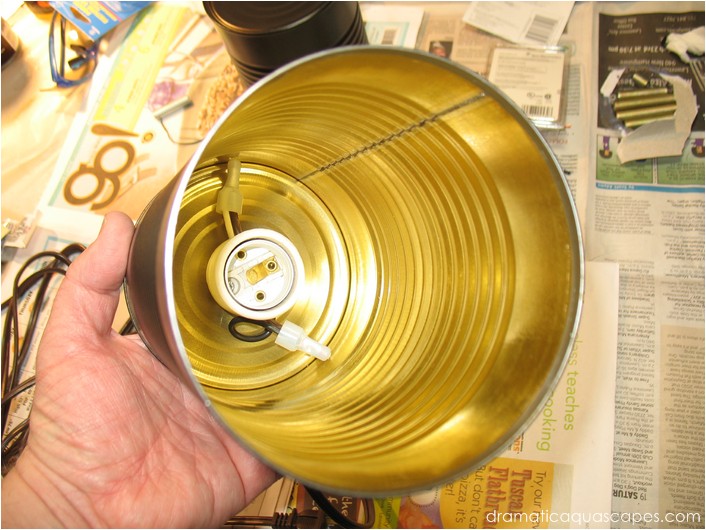
This view shows the mounted socket. Note the
inside of the can provides a fair reflective
surface without modification.
One possibility for improvement though might be a heat tolerant reflective / metallic paint.
This improvement could be done at any time simply by unplugging the fixture, removing the light bulb and temporarily covering the hardware with something to protect it while the reflective paint is applied to the inside of the can.
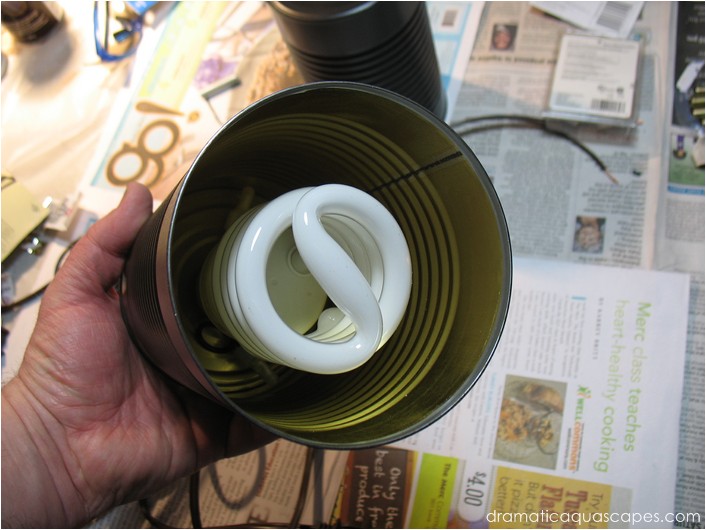
A 100 watt equivalent GE brand "Daylight"
6500k CFL bulb has been installed and we're
just about ready to plug in our new fixture.
Be sure not to screw in the bulb too much tighter than necessary. Since the porcelain socket is secured to the can by only a single point (the threaded nipple), the socket may want to turn too when removing an old bulb if it was screwed in too tightly.
This shouldn't be a problem with a little forethought.
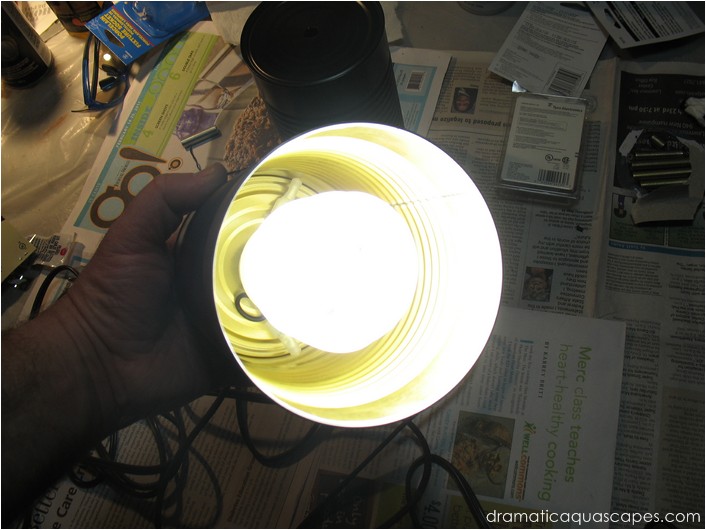
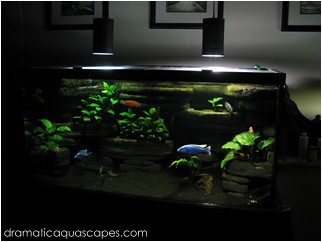
So far so good. These CFL bulbs produce allot
of lumens for the amount of wattage they
consume and the 6500k spectrum provides a
natural looking light which is great for fish and
live aquatic plants alike.
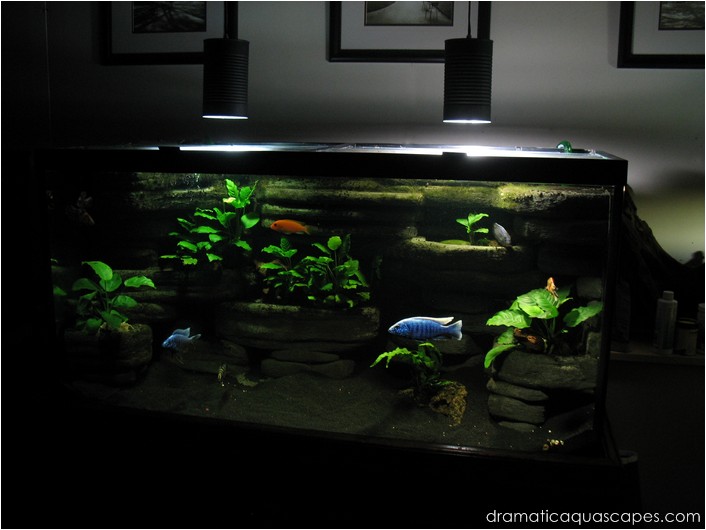
These fixtures took about one hour each to
build and should last for many years.
Click the play button to the left to see a short
video of the Do-it-Yourself Hanging Pendant
Aquarium Plant Lights.
welcome to
do-it-yourself aquarium and semi-aquatic background designs beyond the traditional
Dramatic AquaScapes
Disclaimer: Exercising reasonable safety precautions
when performing the steps described in this article
are the responsibility of the individuals building the
background. Dramaticaquascapes.com is not
responsible for personal injury or property damage as
a result of following steps outlined in this article.